
How to Crop an Image Online – Complete Step-by-Step Guide
Have you ever taken a photo only to find extra elements or awkward spacing? Learning how to crop an image online helps you remove unwanted parts, adjust size, and improve composition. This guide shows free tools, step-by-step instructions, and pro tips to crop images perfectly every time.
Why You Should Crop an Image Before Sharing or Uploading
Have you ever taken a perfect photo, only to realize there's a random stranger in the background? Or maybe your subject is positioned awkwardly with too much empty space on one side? Perhaps you need to fit an image into a specific size for your website, but it just doesn't look right?
In this comprehensive guide, we'll walk you through everything you need to know about cropping images. You'll learn what cropping actually means, why it matters, how to do it step-by-step using our free online crop tool, and professional tips that will help you crop like an expert every single time. Whether you need to crop, resize, rotate, or convert your images, we've got you covered.
How to Crop an Image Step by Step (Using ImageToolo)
Cropping is a simple yet powerful way to improve your images. Whether you’re a beginner or an experienced editor, following a clear, step-by-step workflow ensures precise results and helps you make the most of your photos. With ImageToolo, the process is fast, intuitive, and works directly in your browser without any software installation.
Step 1: Upload Your Image
Start by navigating to ImageToolo's Crop Tool in any modern web browser. The tool is fully responsive and works seamlessly on desktops, laptops, tablets, and smartphones.
Click the Upload Image button or simply drag and drop your file into the designated area. ImageToolo supports all common image formats, including JPG, PNG, WEBP, GIF, and more. All uploads are secured through an encrypted connection to protect your files.
Once your image is uploaded, it appears instantly in the workspace, ready for cropping. The tool automatically detects the image dimensions and prepares an intuitive interface, making it easy to adjust your crop with precision.
 Upload Image for Cropping
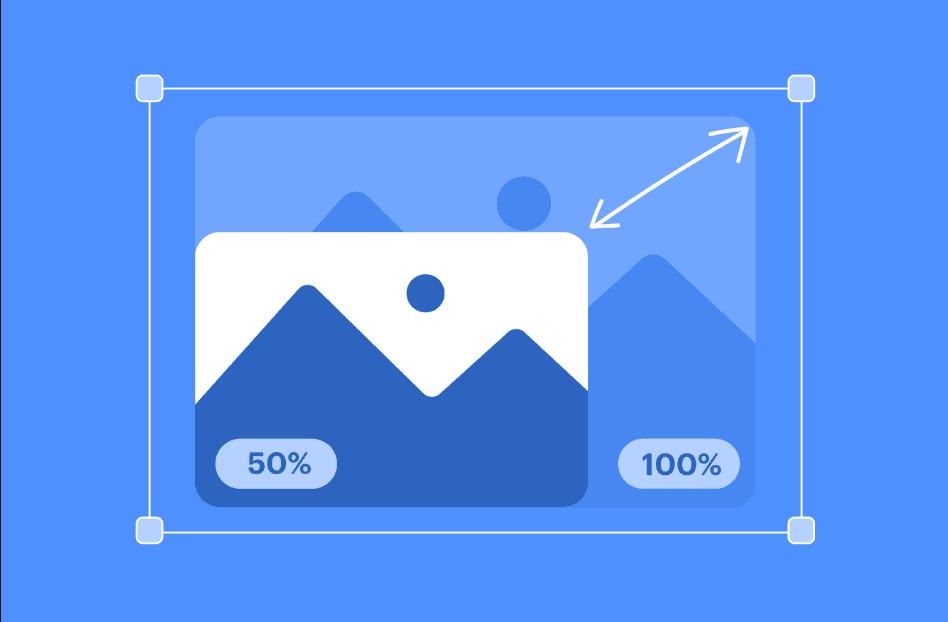
Step 2: Select Your Crop Area
This is where the magic happens. You'll see your image displayed with a crop overlay — typically a rectangle with handles at the corners and edges.
Free-Form Cropping: Click and drag any corner or edge handle to define your desired crop area. The overlay shows exactly what will remain after cropping, with the areas outside the selection dimmed or darkened. This visual feedback makes it easy to see your final result before committing.
Aspect Ratio Presets: ImageToolo provides quick-select buttons for common aspect ratios:
-
1:1 (Square) — Perfect for Instagram posts and profile pictures
-
4:5 (Portrait) — Ideal for Instagram portraits and vertical content
-
16:9 (Landscape) — Standard for YouTube thumbnails and website banners
-
9:16 (Vertical) — Optimized for Instagram/Facebook Stories
-
Custom — Define any dimensions you need
Selecting a preset locks the crop rectangle to that ratio, preventing accidental distortion as you resize it.
Positioning the Crop: Click inside the crop area and drag to reposition it over your image. This lets you frame your subject perfectly without changing the crop size.
Precision Controls: For exact dimensions, enter specific pixel values or percentages. This is particularly useful when you need images to fit precise specifications.
 Select Crop Area
Step 3: Adjust Size and Preview
Before finalizing your crop, take a moment to refine it:
Zoom In for Details: Use zoom controls to magnify your image and ensure important details aren't accidentally cropped out. This is especially important for portraits where you want to avoid cutting off parts of faces. If you need to adjust canvas size after cropping, try the resize tool.
Grid Overlays: Enable compositional grid overlays (like the rule of thirds grid) to help position subjects at visually pleasing points. These guides help create professional-looking compositions.
Live Preview: The interface shows exactly what your cropped image will look like. What you see is what you get — no surprises after downloading.
Fine-Tune Positioning: Make small adjustments to get everything perfect. Move the crop area by a few pixels, slightly adjust the size, ensure horizons are level within the crop.
Take your time here. The difference between a good crop and a great crop often comes down to these small refinements.
 Preview Cropped Image
Step 4: Download Your Cropped Image
Once you are satisfied with your crop, it’s time to save your final image. ImageToolo offers a streamlined process to download your cropped image in the format and quality that best suits your needs.
Choose Output Format: Select the file format that works best for your project. JPG is ideal for photographs, PNG preserves transparency for graphics, and WEBP provides excellent compression while maintaining quality. For guidance on selecting the right format, check our image format comparison guide. If needed, you can also use our convert tool to change formats or the compress tool to reduce file size without sacrificing visual quality. Learn more about image compression in our complete compression guide.
Quality Settings: Adjust the quality slider to balance file size and visual fidelity. For most purposes, 85–90% quality provides excellent results while keeping file sizes reasonable.
Click Download: After configuring the format and quality, click Download. Your cropped image is saved immediately, and the filename indicates it has been cropped to help distinguish it from the original file.
ImageToolo ensures your privacy by automatically deleting all uploaded images from its servers after processing.
Pro Tip: Always retain your original uncropped image. If you decide to make further edits or try a different crop in the future, starting from the original high-resolution file produces superior results compared to re-cropping an already-cropped image. If your image needs alignment adjustments, use the rotate tool before cropping to straighten horizons and maintain proper composition.
 Download Cropped Image
What Does Cropping an Image Mean?
Let's start with the basics. Cropping an image means removing unwanted portions from the edges of a photo to improve composition, focus attention, or fit specific dimensions. Think of it as reframing your photograph — deciding what stays in the picture and what gets cut out.
Unlike resizing, which changes the overall dimensions of an entire image, cropping selectively removes sections while keeping the remaining portion at its original quality and resolution. This is crucial — when you crop, you're not compressing or degrading the image; you're simply keeping less of it.
The Difference Between Cropping and Other Edits
Cropping vs. Resizing: Resizing changes the entire image's dimensions, making everything bigger or smaller. Cropping removes outer portions while keeping the remaining area at original quality.
Cropping vs. Trimming: These terms are often used interchangeably, but trimming typically refers to removing small edges, while cropping can involve more substantial reframing.
Cropping vs. Cutting: Cutting usually means removing internal sections, creating transparency. Cropping only removes from the edges inward.
Real-World Before and After Examples
Imagine a landscape photo taken during a road trip. The original shows beautiful mountains and sky, but also includes part of your car's hood in the bottom third — distracting and unprofessional. Crop away that bottom section, and suddenly you have a stunning, publishable landscape shot.
Or consider a portrait where the subject is positioned too far to one side with excessive empty space. Cropping to reposition the subject using the rule of thirds creates immediate visual improvement, making the photo feel balanced and intentional.
A group photo where someone's unwanted photobomb ruins the moment? Crop them out, and the photo becomes usable again.
These transformations take seconds with the right tool but make the difference between mediocre images and ones worth sharing.
Why You Need to Crop Images
Cropping is a fundamental tool in photography and image editing. Knowing when and why to crop helps you enhance focus, improve composition, and remove distractions, making your images more visually engaging and professional.
Improving Composition
Strong composition draws the viewer’s eye and creates a sense of balance in your images. Techniques like the rule of thirds encourage placing subjects off-center at the intersections of an imaginary grid. Cropping allows you to adjust the placement of subjects within your frame, even if the original shot was slightly misaligned, helping your photos adhere to compositional principles and look more polished.
Removing Distractions
Backgrounds are full of potential distractions — other people, objects, clutter, or simply too much empty space. Cropping eliminates these elements, directing viewer attention exactly where you want it.
Meeting Platform Requirements
Social media platforms, websites, and print media all have specific dimension requirements. Instagram posts need square or 4:5 aspect ratios, YouTube thumbnails require 16:9, profile pictures are often circular crops of square images. Cropping ensures your images fit these specifications perfectly.
Focusing on Details
Sometimes the interesting part of an image occupies only a small portion of the frame. Cropping in on details — like a flower in a garden photo or a face in a crowd shot — creates more impactful images.
Correcting Framing Mistakes
We've all taken photos where the horizon isn't level, the subject is too far away, or the framing just feels off. Cropping fixes these issues without needing to retake the photo.
Creating Multiple Versions
One original photo can be cropped multiple ways for different uses — a wide banner crop for your website header, a square crop for Instagram, a vertical crop for Pinterest, all from the same source image.
Tips for Perfect Cropping
Cropping is more than just trimming edges—it’s a way to enhance composition, focus attention, and create visually appealing images. Applying these professional techniques can elevate your results from ordinary to exceptional.
Keep Your Subject Centered (When Appropriate)
While compositional guidelines like the rule of thirds are helpful, centering your subject can be highly effective in certain cases. Symmetrical subjects, portraits, or images where balance is essential often benefit from a centered composition. The key is to let the subject and context of the image guide your decision rather than blindly following rules, ensuring a visually harmonious result.
Maintain Aspect Ratio for Specific Uses
If you're cropping for a specific platform or purpose, use the correct aspect ratio from the start. This prevents awkward stretching or additional cropping when you upload your image.
Don't Crop Too Tight
Leave breathing room around subjects. Cropping right up to the edges of a person's head or body creates claustrophobic, uncomfortable compositions. A little negative space makes images feel more natural.
Watch the Edges
Check all four edges of your crop carefully. It's easy to accidentally cut off fingers, feet, or other important details when you're focused on the center of the image.
Consider the Background
When cropping, you're not just selecting your subject — you're also selecting background. Ensure the background elements within your crop complement rather than distract from your subject.
Crop to Remove Problems
Use cropping to eliminate issues like tilted horizons, distracting objects, or poor lighting on edges. It's an easy fix for common photographic problems.
Think About Final Use
An image destined for a website banner needs a different crop than one heading to Instagram. Crop with your final destination in mind to ensure the composition works in context.
Use Crop for Storytelling
Different crops tell different stories. A wide crop including environment provides context, while a tight crop on a face conveys emotion. Choose your crop based on what story you want to tell.
When Not to Crop Too Much
Cropping is an effective tool for improving composition and focusing attention, but excessive cropping can lead to problems with image quality and versatility. Understanding when to exercise restraint ensures your photos remain useful for multiple purposes, from printing to digital publishing.
Resolution Concerns
Every time you crop an image, you reduce its total number of pixels. For example, cropping a 4000x3000 pixel photo down to 800x600 discards approximately 95% of the original pixels. This reduction limits your ability to use the image at larger sizes in the future. Always consider potential needs for high-resolution versions, and avoid aggressive cropping unless absolutely necessary.
Over-Cropping Reduces Quality
Aggressively cropping then enlarging the result creates pixelated, low-quality images. If you need to crop significantly, ensure your source image has enough resolution to maintain quality at the final size.
Losing Context
Sometimes the environment around your subject provides important context. A portrait of a chef becomes more meaningful with their kitchen in the background. Don't crop away context that adds value to your story.
Distorting Intent
Cropping can change the meaning of an image. Photojournalists and documentary photographers follow strict ethical guidelines about cropping because removing context can mislead viewers. Always crop honestly.
Platform Limitations
Some platforms automatically crop uploaded images. Instagram, for example, might crop your carefully composed image when it appears in feeds. Anticipate these automatic crops and compose accordingly.
Print Considerations
If you're preparing images for printing, remember that physical prints often include white borders or margins. Don't crop so tightly that important elements end up in these border areas.
Common Cropping Mistakes to Avoid
Cropping is a powerful tool for improving composition and focus in your images, but common mistakes can reduce flexibility and damage image quality. Understanding these pitfalls helps you maintain the integrity of your photos while achieving the desired results.
Cropping Without Saving the Original
One of the most frequent mistakes is cropping directly on the only copy of your image. Once an image is cropped, the removed portions are permanently lost, limiting your ability to make future adjustments or create different compositions.
Best Practice: Always retain the original uncropped file in a separate folder or backup location. This ensures you can experiment with different crops or revert to the original if needed, giving you full creative control without losing any data.
Cutting Off Important Elements
Check every edge carefully before finalizing. Accidentally cropping off hands, feet, or parts of faces creates awkward results.
Ignoring Aspect Ratios
Randomly cropping without considering aspect ratio often means re-cropping later when the image doesn't fit where you need it.
Cropping After Resizing
This workflow reduces quality. Always crop first to remove unwanted areas, then resize to your final dimensions. Need help with resizing? Our image tools collection includes everything you need to edit your images professionally.
Over-Cropping Low-Resolution Images
If you start with a 800x600 image and crop to 200x150, you have almost nothing left to work with. Ensure source images have adequate resolution before aggressive cropping.
Forgetting the Rule of Thirds
Centered subjects work sometimes, but defaulting to center placement for everything creates boring compositions. Experiment with off-center positioning.
Final Thoughts
Cropping is the simplest yet most transformative tool in image editing. With just a few seconds of work, you can turn mediocre photos into compelling images, remove distractions, improve composition, and ensure your visuals fit perfectly wherever you need them.
Ready to start cropping? Visit ImageToolo Crop Tool and experience the easiest way to crop images online. Whether you're preparing images for social media, optimizing photos for your website, creating perfect prints, or simply making your personal photos look better, ImageToolo gives you professional results in seconds. After cropping, you might want to compress your images for better performance, convert them to different formats, or even add a watermark to protect your work.
For more image editing tips, check out our guides on compressing images, converting formats, and choosing the right image format.